Tuesday 30 August 2016

Scraptastic Sampler 2016 - Block 4 Summer Winds


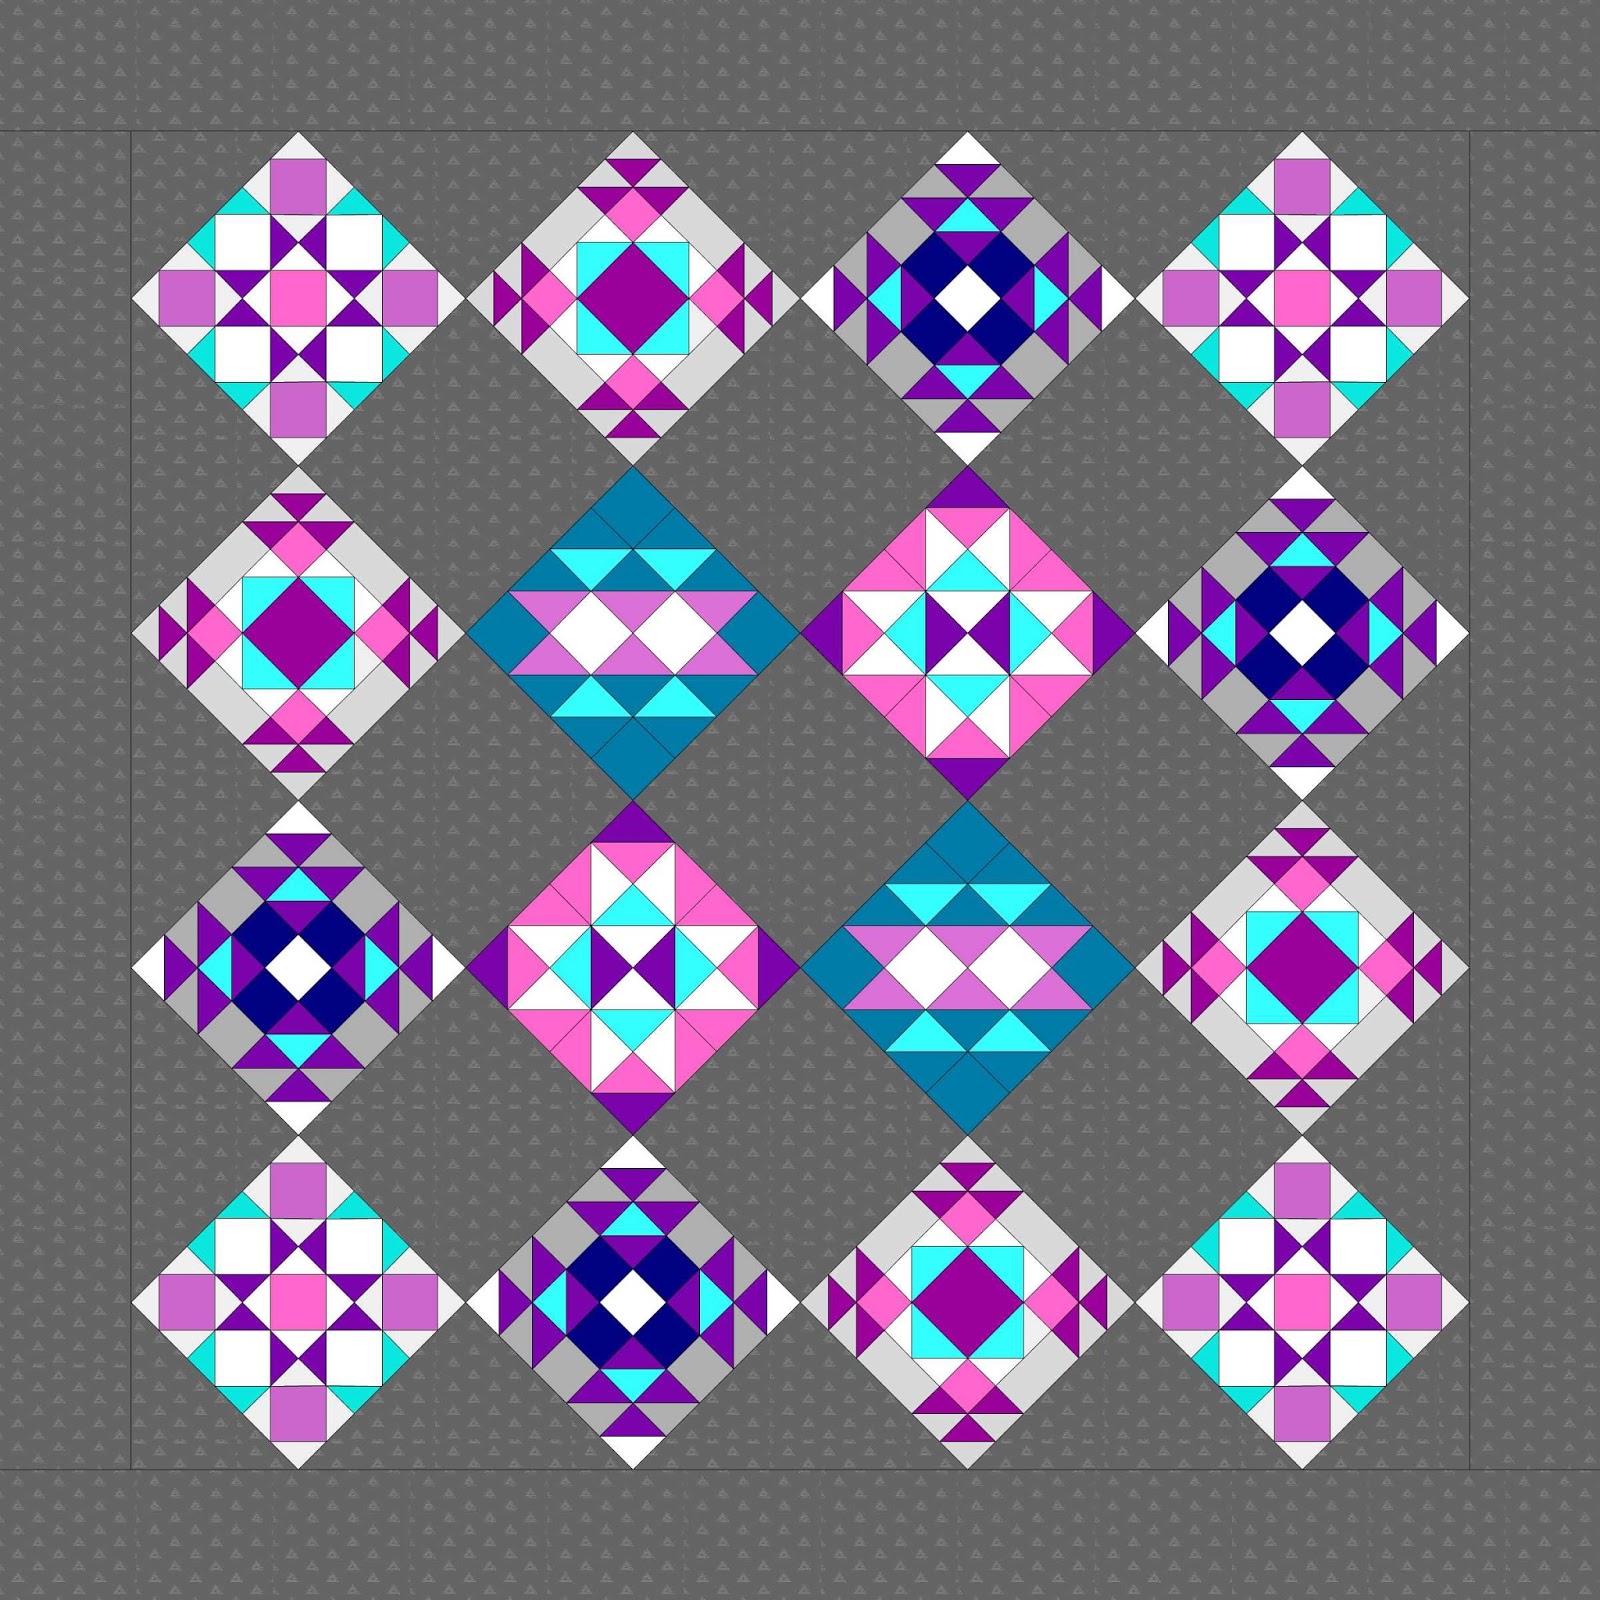
This block, Summer Winds, is based on a 6 x 6 grid, that means it can be divided into six equal parts across each row and down each column. 

This is a 12" finished quilt block (unfinished 12 1/2") so each small square/HST measures 2" finished (unfinished 2 1/2").  There are also rectangles and flying geese units measuring 4" x 2" (unfinished 4 1/2" x 2 1/2" ) and one large central square which is 4" (unfinished 4 1/2" square)

Cutting requirements for one block

Twelve 2 1/2" squares - 8 white and 4 pink squares
Twelve 3" squares - six purple and six grey squares
One 4 1/2" purple square
Eight 4 1/2" x 2 1/2" rectangles - four grey and four turquoise


Making all the corner units

For HSTs - made with twelve 3" squares: six purple and six grey squares.
Pair each purple with one of the grey squares and make HSTs using your favourite method.  Each pair of squares will yield two HSTs.
Trim each HST to 2 1/2" square.

Take 8 HSTs units and pair them to make four double HST units.


Take the remaining 4 HST units and join to the left of a 2 1/2" pink square. 


Tip : Make things easier for yourself and don't use a directional fabric!  I had to make mirrored corner units because I wanted those stripes on my fabric to go the same way.

 
Take one double HST unit and join with the HST/square unit as above.


 Repeat three more times.


Make middle units


For Flying Geese Unit - four 4 1/2" x 2 1/2" rectangles in turquoise and four in grey, eight 2 1/2" white squares.  

Draw a horizontal line from corner to corner on all the white squares. 


Line up one white square on the lefthand side of the turquoise rectangle as in photo, with the diagonal line starting at the top middle of the rectangle, going down to the lefthand bottom of the rectangle.  


Stitch along the line and trim 1/4" from your stitching line.  Press the seam open.   


Repeat with another white square in the other corner - see photo - with the diagonal line starting at the top middle of the rectangle, going down to the righthand bottom of the rectangle.  Stitch, trim and press as before. 

Repeat for the other three Flying Geese units.


Add a grey rectangle to each Flying Geese unit, see photo above


Arrange units as in block diagram below, with the purple 4 1/2" square in the middle.

Stitch together in horizontal rows ...

Press seams within the row in alternate directions - row 1 to the left, row 2 to the right etc.

To join rows, nest the seams together, pinning if necessary and stitch. When completed press.

Make three more blocks.

Here is one of mine....


In case you have chosen a different colourway here is a blank version of the whole quilt for you to download and play with your own colours.  


Tuesday 23 August 2016

Scraptastic Sampler 2016 - Block 3 Kansas Star

Scraptastic Tuesday


This block, Kansas Star, is based on a 3 x 3 grid - a glorified nine patch if you like.


Each ninth part is made from a square in a square block, like this one - which is the centre unit.


 Cutting requirements for each block

Nine 4 1/2" squares:  one pink; four purple; and four white
Thirty six 2 1/2" squares:  four white; sixteen grey; eight purple; and eight turquoise


How to make the square in a square unit

1 Centre unit - make one
Take the 4 1/2" pink square and four 2 1/2" white squares


 Draw a diagonal line on each of the small squares. With right sides together, line up the first white square in the top left corner.  The marked line should touch the edges of the bigger square, as in the photo.


Stitch along the line and trim away leaving a 1/4 "  seam allowance.


Repeat in the other four corners. 


2 Corner Unit - make four

Repeat the process in step 1, using a 4 1/2" purple squares, and four 2 1/2" grey
squares.


3 Middle Unit - make four 
Repeat the process in step 1 using a 4 1/2" white square, two 2 1/2" turquoise
 squares on the top and two 2 1/2" purple squares on the bottom of the bigger square. 


When all units are complete arrange as in the block diagram above.

Stitch together in horizontal rows as below...


Press seams within the row in alternate directions - row 1 to the left, row 2 to the right  or press seams open if preferred.

To join rows, line the seams up, pinning if necessary and stitch. When completed press.

Here is one of my blocks 


Make three more blocks.

In case you have chosen a different colourway here is a blank version of the whole quilt for you to download and play with your own colours.  


Saturday 20 August 2016

More covered boxes!

On my FAL list were several cardboard boxes I wanted to cover using my FAL tutorial here.


Above are the ones I made when I posted the tutorial as part of  FAL Tutorial week.  They are a fun way to use up scraps and to make a boring box much prettier.  I use them to keep all sorts of scraps in - scrappy binding leftovers, strips, squares, bonus HSTs and those triangles leftover from making flying geese or square in a square blocks that I haven't converted into bonus HSTs.

It is surprising just how much fits inside them.


I made these slightly differently adding a contrast strip to the top of the box or the sides.   

It started when I found a strip of 2 1/2" squares in yellow and green.  I added it to some green fabric leftover from my hoopla quilt.  I adjusted the measurements as a result, adding in an extra 1/2" seam allowance to the constituent parts so that I still end up with my 12" X 15 1/2" rectangle.  It seemed a good idea to use up scraps found inside this box to help cover it.

The second box I used a whole 2 1/2" strip round the top of the box and then used the same fabric inside.   The third box has a different fabric on the short sides of the box - ok I admit is wasn't where I intended it to be but I was half watching the Olympics and not concentrating fully.  It still looks good though - better than the cardboard boxes anyway!

One more this morning and that is it for now - still managing to add the strip to the side rather than the top - grrrr!  I finished this one by joining the outer with a running stitch in floss along the top which actually holds it together and is quite decorative.


Note to self :   To add a strip to the side add it to the 15 1/2" side, to add a strip to the top edge add a strip to the 12" side!  I might have to do one last one to confirm this!  I will add this note to update my tutorial.  Better to have everything in one place.

And here they are in my wall unit where I keep them - they fit snuggly on the shelves and look tidy and colourful.   But they are useful as well.


As they are all different I am hoping I can remember what is inside each one.   If I keep forgetting I will add a small label to the ribbon handle to remind me.

This is my nineteenth finish from my FAL list!   I'll be linking it up at the end of this quarter. 

Here is my original list.


Finish A Long 2016

Tuesday 16 August 2016

Scraptastic Tuesday - August Winners


It's time to announce the August Scraptastic Tuesday winners of the randomly drawn prizes given by our fantastic sponsors:


Congratulations to the lucky winners, who are:

If you are a winner, congratulations, and watch for an email from me today to get you connected to your prize, but please note I will not be able to send them until this evening as I have to rush off now for a day of working at my day job.

Please join Leanne from She Can Quilt and I next month to link up your scrappy project or thoughts on taming your scrap mountain on the second Tuesday - September 13.

And if you are looking for some scrappy inspiration, visit the August links, they are awesome.


Scraptastic Sampler 2016 - Block 2 Mosaic No 19(2)

X
Scraptastic Tuesday


Like Block 1, this block, Mosaic No 19(2), also has a four x four grid, that means it can be divided into four equal parts across each row and down each column. 

This is a 12" finished quilt block (unfinished 12 1/2") so each HST measures 3" finished (unfinished 3 1/2").


Cutting requirements for one block


This block can be made entirely from HSTs - made with sixeen 4" squares: six pink, five white, three purple and two turquoise squares

Pair 2 purple wih 2 pink squares; 1 purple with 1 turquoise square; 1 turquoise with 1 white square ; 4 pink with 4 white squares.  Each pair of squares will yield two HSTs.

Trim each HST to 3 1/2" square.

Arrange squares/HSTS as in block diagram above.

Stitch together in horizontal rows as below...


Press seams open.

To join rows, match the seams up, pinning if necessary and stitch. When completed press.

Make second block.

Here are my two Mosaic no 19(2) blocks, together with my Hovering Hawks blocks from last week.   Together they make the centre of my quilt...


In case you have chosen a different colourway here is a blank version of the whole quilt for you to download and play with your own colours.  


Come back later today to see who our winners in August are!

LinkWithin

Related Posts Plugin for WordPress, Blogger...